
Tracking branded and non-branded traffic is essential for understanding your brand recognition. It also helps identify opportunities for optimizing your content and SEO strategies.
So, how can you easily identify how much of your Google search traffic is branded or non-branded? And how can you see how much traffic comes from a specific query type? This article provides a step-by-step guide to track branded and non-branded search traffic.
What's the Difference Between Non-Branded and Branded Search?
The key difference between branded and non-branded search has to do with the specific words the searcher uses to find your brand.
Branded traffic refers to visitors who find your site using branded keywords (searches that include your brand name), such as “FourFront” or “FourFront SEO.”
Non-branded traffic refers to visitors who find your site through non-branded search terms (searches that do not include your brand name) such as “SEO agency” or “SEO agency near me.” At FourFront, we also call these discovery keywords (and discovery traffic).
Branded searches imply a level of familiarity with your brand, whereas non-branded searches are more likely to be made by “colder” users, who might not yet know you exist.
Knowing how your organic search traffic breaks down between branded and non-branded queries can help to give you a clearer understanding of who is visiting your website, and where they are in their customer journey.
Using Google Search Console
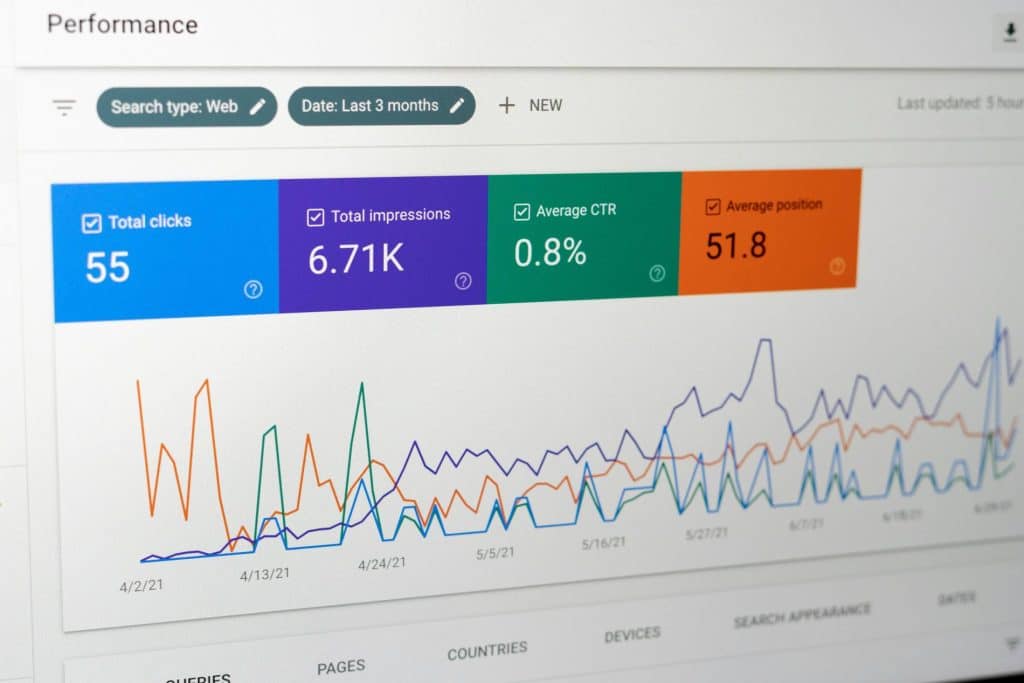
Your primary data source for all things keywords is Google Search Console. Search Console has many different reports and functionalities, but its primary data includes providing website owners with keyword-level data.
In a nutshell, Search Console answers: what keywords are driving traffic to my website?
This makes Search Console your “go-to” data source when separating (and quantifying) your branded traffic versus non-branded traffic.
Determining Branded Traffic in Search Console
Follow these steps to determine branded traffic using Google Search Console:
1. Log into Google Search Console
2. Navigate to “Search Results

3. Select “New” and then click “Query”

4. Identify all possible variations and forms of your brand name. Depending on the complexity of your brand name and branded search terms you may have to create a custom regular expression. Refer to this article on using regular expressions to filter data in reports.

5. After clicking “Apply”, you should see branded traffic to your site in the report:

Note: you may still see incorrect “brand collision” keywords.

We are not a credit union – but it’s still being categorized as a “Branded” keyword because it matches our regular expression. So keep at it! It may take a few iterations with your regular expression to get a true representation of “Branded” and “Non-branded” keywords.
Determining Non-Branded Traffic in Search Console
Follow these steps to determine non-branded traffic using Google Search Console:
1. Log into Google Search Console
2. Navigate to “Search Results”
3. Select “New” and then click “Query”
4. Change the filter from “Matches regex” to “Doesn’t match regex”

5. Now, you should see non-branded traffic to your site in the report:

Using Google Looker Studio
What if you wanted to automate this process and have a more streamlined way of monitoring branded and non-branded traffic to your site?
You can create a report in Looker Studio that will automatically update using data from Search Console.
Determining Brand & Non-Branded Traffic in Looker Studio
Follow these steps to set up a report in Looker Studio that tracks branded and non-branded traffic:
1 .Log into Looker Studio
2. Create a new report
3. Add Google Search Console as a data source.
Note: If you’re using an existing report, you can do this by navigating to Resources and then Manage added data sources.

4. Connect to your site
5. Add a new table to your report. Use “Query” as your dimension and “Url Clicks” and/or “Impressions” as your metrics.

6. Edit your data source by clicking the “pencil” icon next to your data source, then click “Add a Field” and choose “Calculated Field”

7. Create a name for your calculated field: Query Type
8. Create a case statement like the one below. Remember: your regular expression should be specific to your brand!

This case statement will then categorize keywords based on your regular expression field as either “Branded” or “Non-Branded (Discovery).” Refer to this article for regular expressions best practices.
9. Add your new calculated field to the table.

And voilà, you can see the search term or Query broken down by Query Type.
Use this data to determine how much of your search traffic is branded versus non-branded. And don’t forget to play around with different visualizations, too! You can use Time Series charts to show your Brand vs. Non-brand performance over time, Pie charts to show your performance as percentages, etc.

A Note About Our Updated Content and Google Analytics
Longtime FourFront fans may remember that the original version of this blog post, published in 2016, provided instructions for tracking branded and non-branded traffic in Google Analytics. As of the update to this post in July 2024, Universal Analytics (UA) has officially been sunsetted, and Google Analytics 4 (GA4) is now the reigning analytics tool from Google.
Unfortunately, the ability to track branded traffic in UA, which we demonstrated in the original blog post, was lost in the update to GA4. This change necessitated a comprehensive update to this content to continue to provide valuable and accurate information.